
How to Replace a Kitchen Faucet (and What It Costs to Hire It Out)
· By Igor de Deus Rodrigues
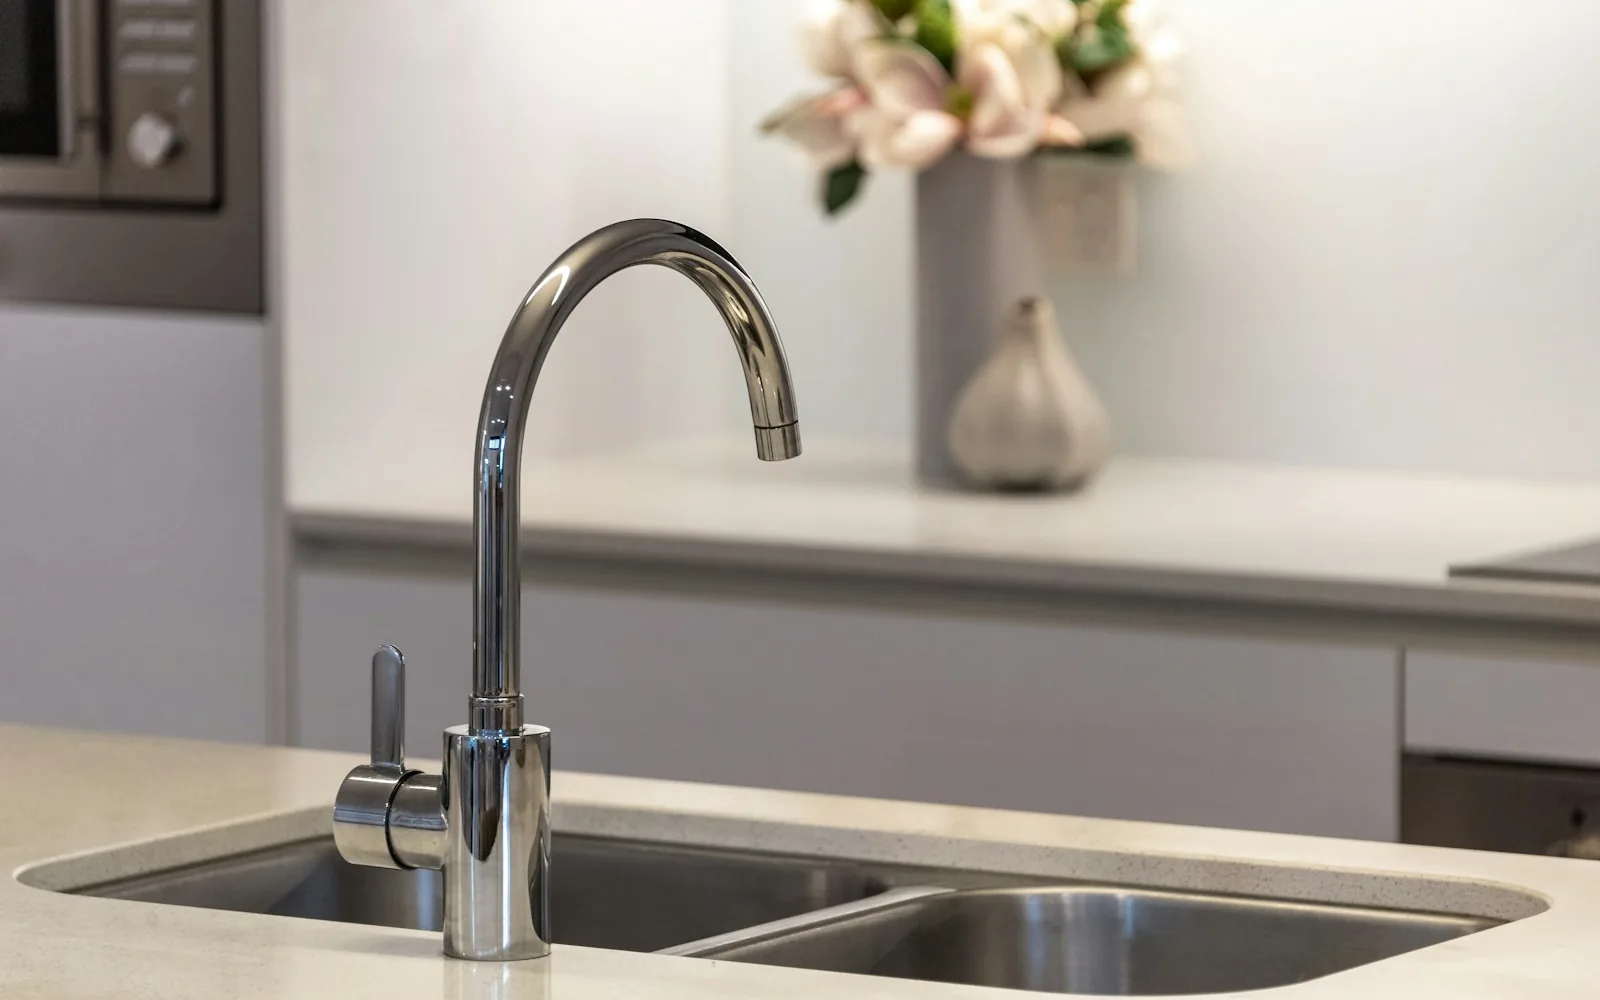
Replacing a kitchen faucet is one of the most popular upgrades in a home. A new faucet fixes drips, makes daily cleanup easier, and can change the whole look of the sink area for a modest cost. For many people it is also a doable weekend project, as long as the old faucet comes off without a fight.
This guide walks through a standard faucet swap step by step, lists the tools you will need, covers the snags that turn a one-hour job into an afternoon, and gives typical costs if you would rather have someone else do it. Prices mentioned are general market ranges, not a quote.
Before you start: pick the right faucet
Look under the sink and count the holes in the sink or countertop. Most kitchen sinks have one to four holes. A single-hole faucet can fit a three or four hole sink with a deck plate that covers the extra openings, but a faucet that needs more holes than you have will not work without drilling.
Check the space behind the sink, the reach of the spout, and whether you want a sprayer, a pull-down head, or a soap dispenser. Also confirm the supply connections. Many new faucets come with braided supply lines attached, and you will need to know whether your shutoff valves take a 3/8 inch compression fitting, which is the most common size.
If your shutoff valves are old, stiff, or crusted with mineral buildup, plan to replace them. Hard water, which is common across Southern California including San Diego, leaves scale on valves and aerators over time.
Tools and materials you will need
Basic tools: an adjustable wrench, a basin wrench (the long-handled wrench made for reaching nuts behind the sink), a flashlight or headlamp, a bucket, towels, and a putty knife. Plumber's tape and silicone or plumber's putty may be needed depending on the faucet instructions.
Clear out everything under the sink first and lay down a towel. You will spend most of the job on your back in a tight cabinet, so comfort and good light make a real difference.
Step by step: removing the old faucet
Turn off the hot and cold shutoff valves under the sink, then open the faucet to release pressure and confirm the water is off. If the valves do not fully close, turn off the main water supply to the house before going further.
Put the bucket under the connections and disconnect the supply lines from the valves. If there is a sprayer hose or a pull-down hose with a weight, unclip it. Take a quick photo of everything before you disconnect it, so you remember the layout.
Use the basin wrench to loosen the mounting nuts that hold the faucet to the sink. This is usually the hardest part. Old nuts can be corroded in place, and penetrating oil plus patience helps. Once the nuts are off, lift the faucet out and scrape away old putty or sealant, then clean the sink surface.
Step by step: installing the new faucet
Follow the instructions that come with your faucet, since every model is a little different. In general, set the gasket or deck plate, feed the supply lines and hose through the hole, and center the faucet on top of the sink.
From below, thread on the mounting hardware and tighten it until the faucet is firm and does not twist, but do not overtighten, especially on a stone or composite countertop. For pull-down models, connect the spray hose to its fitting and attach the weight at the point the instructions show.
Connect the supply lines to the shutoff valves, hot on the left and cold on the right. Snug them with a wrench, usually a quarter turn past hand tight for compression fittings.
Test for leaks and finish up
Remove the aerator from the spout, then turn the valves on slowly and run the water for a minute to flush debris from the lines. Reinstall the aerator. Debris from old valves is one of the most common reasons a new faucet sputters on day one.
Check every connection with a dry paper towel. Any damp spot means a fitting needs a touch more tightening. Check again after an hour and the next morning, because slow leaks often show up later. A tiny leak inside a cabinet can quietly damage the cabinet floor over weeks.
One more note: faucets sold in California are built to meet the state's water efficiency standards, so a new faucet may feel like it flows a bit less than an old one. That is normal and saves water.
Common snags that turn this into a bigger job
Seized mounting nuts are the number one problem. Sometimes they have to be cut off. Shutoff valves that will not close or that leak once touched are the second. Tight cabinets with a garbage disposal in the way, cracked old supply lines, and countertops that need a new hole drilled are the others.
If the job requires moving the supply lines, adding a new water line, or changing drain plumbing, it stops being a simple swap. That kind of plumbing change may need a permit and a licensed plumber.
What it costs to hire out a faucet replacement
For a straightforward swap where you already have the faucet, most homeowners pay somewhere around $150 to $350 for labor. Replacing stiff shutoff valves, cutting off seized nuts, or extra parts can push it higher. The faucet itself typically ranges from about $100 for a basic model to $400 or more for a pull-down or touchless design.
If you want to skip the cabinet gymnastics, Handmax handles faucet swaps around Greater San Diego, including La Mesa and El Cajon. Text a photo of the sink and the faucet you picked for a free quote, and ask about same-day appointments.
Frequently asked questions
- How long does it take to replace a kitchen faucet?
- A pro usually finishes a standard swap in about one to two hours. A first-time DIYer should plan for a half day, mostly because removing the old faucet in a tight cabinet takes patience.
- Do I need a plumber to replace a kitchen faucet?
- Not for a like-for-like swap using the existing supply valves and drain. If you need to move or add water lines or change the drain, that is plumbing work for a licensed plumber.
- How much does it cost to have a faucet replaced?
- Labor for a typical swap often runs about $150 to $350, plus the faucet itself. Seized parts, new shutoff valves, or drilling a countertop can raise the total.
- Should I replace the shutoff valves at the same time?
- If they are old, hard to turn, or show mineral crust or corrosion, yes. It is easier and cheaper to replace them while the faucet is already out than to deal with a failed valve later.
- Why does my new faucet sputter or have low pressure?
- Usually debris from the old lines is caught in the aerator. Unscrew it, rinse it, and reinstall. New California compliant faucets also flow a little less by design, which is normal.
Related services
Serving
Found this helpful? Make us a preferred source on Google.
Ready for an exact price?
Get a free, no-pressure in-home estimate. Real numbers for your home, not a phone guess.